
7 Easy Steps to Fix a Leaking Pipe Under Your Sink
How to fix leaking pipe underneath sink?
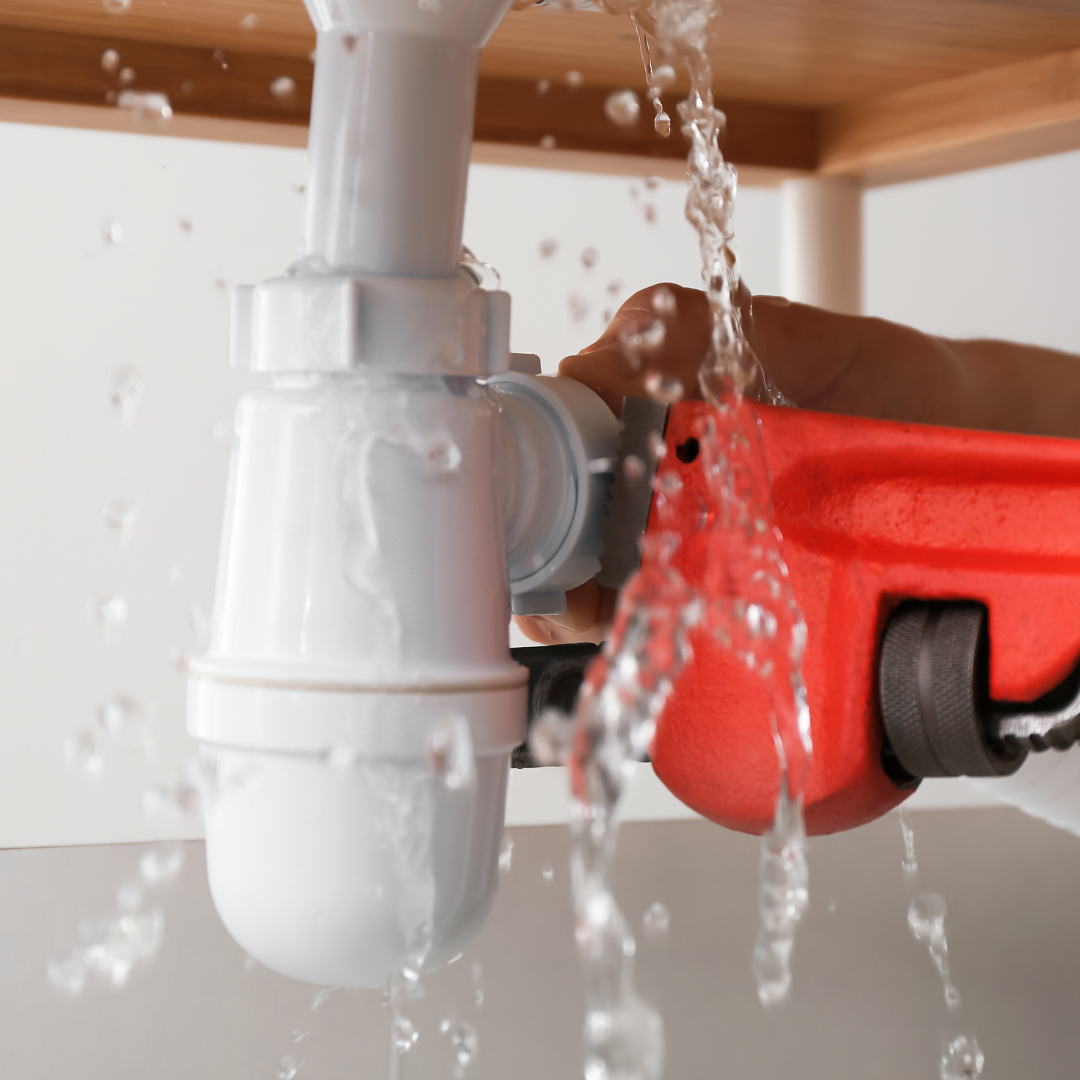
A leaking pipe underneath the sink is a common household issue, and it can range from a minor annoyance to a significant problem if left unchecked. But fear not, fixing it can be simpler than you think. Whether you're a DIY enthusiast or a novice, here’s a clear, step-by-step guide to help you handle the situation effectively.
It's always better to tackle a small leak before it becomes a flood. Early action saves time, money, and stress.
If the water in the bowl isn't flushing away, it could be because of one of the following common problems:
Before diving into the repair, gather all the necessary tools and materials. This will make the process smoother and quicker.
Here’s a list of what you’ll need:
Adjustable wrench
Plumber’s tape
Bucket
Towels or rags
Replacement parts (like washers or gaskets)
Once you have your tools ready, the next steps will involve identifying the source of the leak, preparing the area, and then performing the actual repairs. Don't worry – we'll guide you through each stage.
steps to follow to fix leaking pipe underneath sink
First, identify the source of the leak. Common culprits include the P-trap, supply lines, drain pipes, and faucet connections. Look for visible signs of water, like wet spots or pooling under the sink. Use a flashlight if necessary to inspect hard-to-see areas. Once you're certain where the leak originates, you're ready for the next steps.
Next, prepare the area. Clear out any items stored under the sink to give yourself ample workspace. Place a bucket or an old rag underneath the leak to catch any drips. This will help keep your workspace dry and prevent further damage to the cabinet or floor.
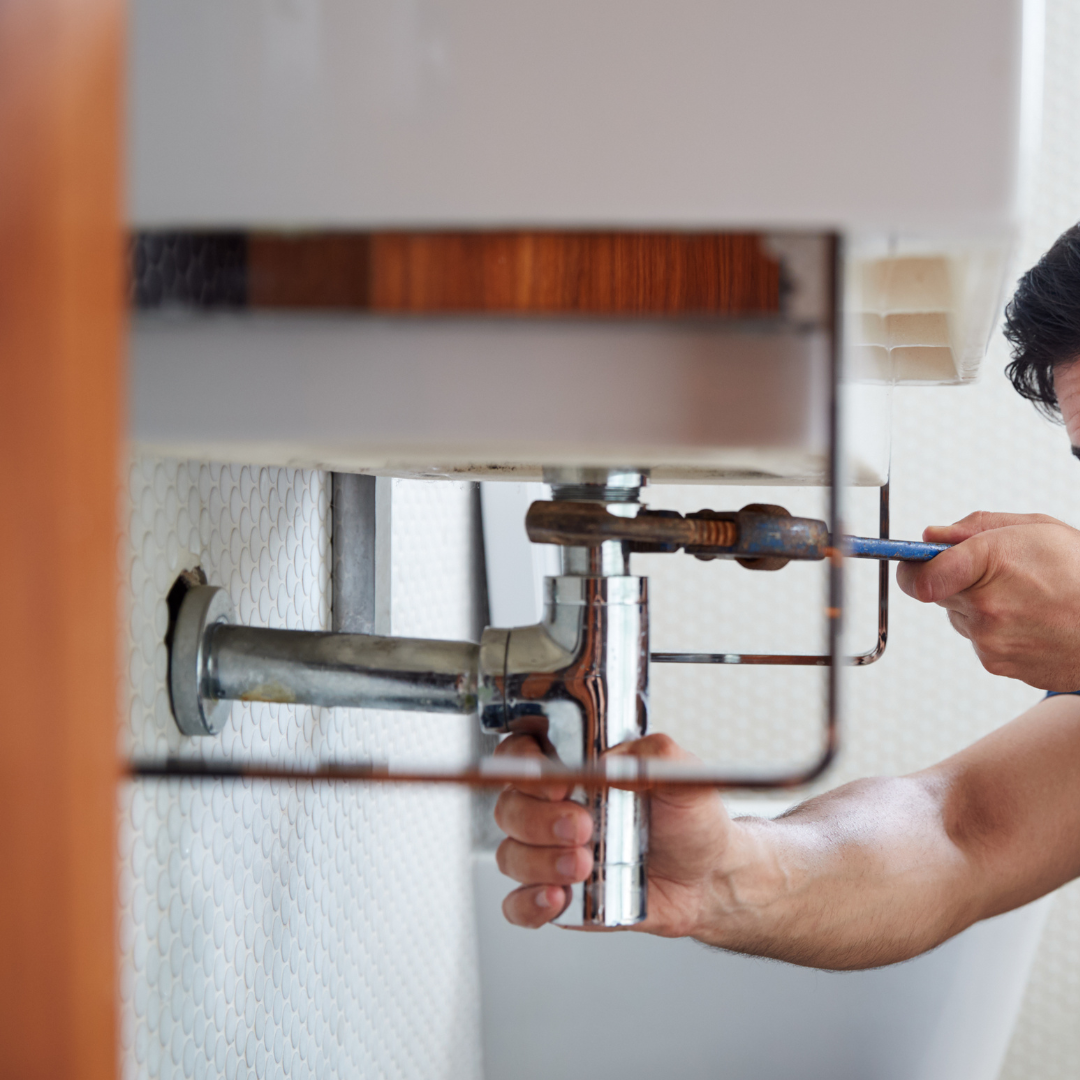
With your tools and workspace ready, it's time to move on to the actual repairs. The method will vary depending on the leak's source:
Leaky P-Trap: Use an adjustable wrench or slip-joint pliers to gently tighten the connections. If the leak persists, you may need to replace the washers or the entire P-trap.
Supply Lines: Check for any loose connections and tighten them. If the line itself is damaged, replacing it is the best option.
Drain Pipes: Look for cracks or splits. Depending on the damage, you might need to use plumber’s putty or Teflon tape as a temporary fix. For a more permanent solution, replace the damaged section of the pipe.
Faucet Connections: Turn off the water supply and carefully remove the faucet to inspect the seals and gaskets. Replace any worn parts and reassemble the faucet, ensuring everything is snug and leak-free.
Finally, once all repairs are complete, turn the water supply back on and check for leaks. If you've done everything correctly, your sink should now be leak-free. Congratulations on a job well done!
If you can't fix the issue yourself- Contact Outright Plumbing Maintenance 03 9501 3777
We provide expert plumbers who specialise in repairing various leaking pipe issues, from burst pipes to faulty parts. Our professional services extend throughout the Bayside area, Mornington Peninsula & surrounding suburbs ensuring timely and reliable solutions to keep your plumbing running smoothly. Don't let a leaking pipe disrupt your daily routine; expert help is just a call away.
Need to talk to an expert?
Our Bayside team of qualified, expert plumbers are here to help.
Call us on 03 9501 3777 or request a call back here.


