
Ultimate Guide: How to Effortlessly Fix a Leaking Tap in Minutes
fixing a leaking tap
A leaking tap can be more than just an annoying drip-drip-drip that keeps you awake at night. It can also lead to wastage of water and higher utility bills. Thankfully, fixing a leaking tap is a manageable DIY task that can save you time and money.
Before you begin, it's important to know the type of tap you have. The most common types are:
Compression tapware
Ball tapware
Cartridge tapware
Disc tapware
Each type has slightly different components, which means the repair methods vary. However, the basic principles remain the same.
Now, let’s dive into the step-by-step process of repairing a leaking tap.
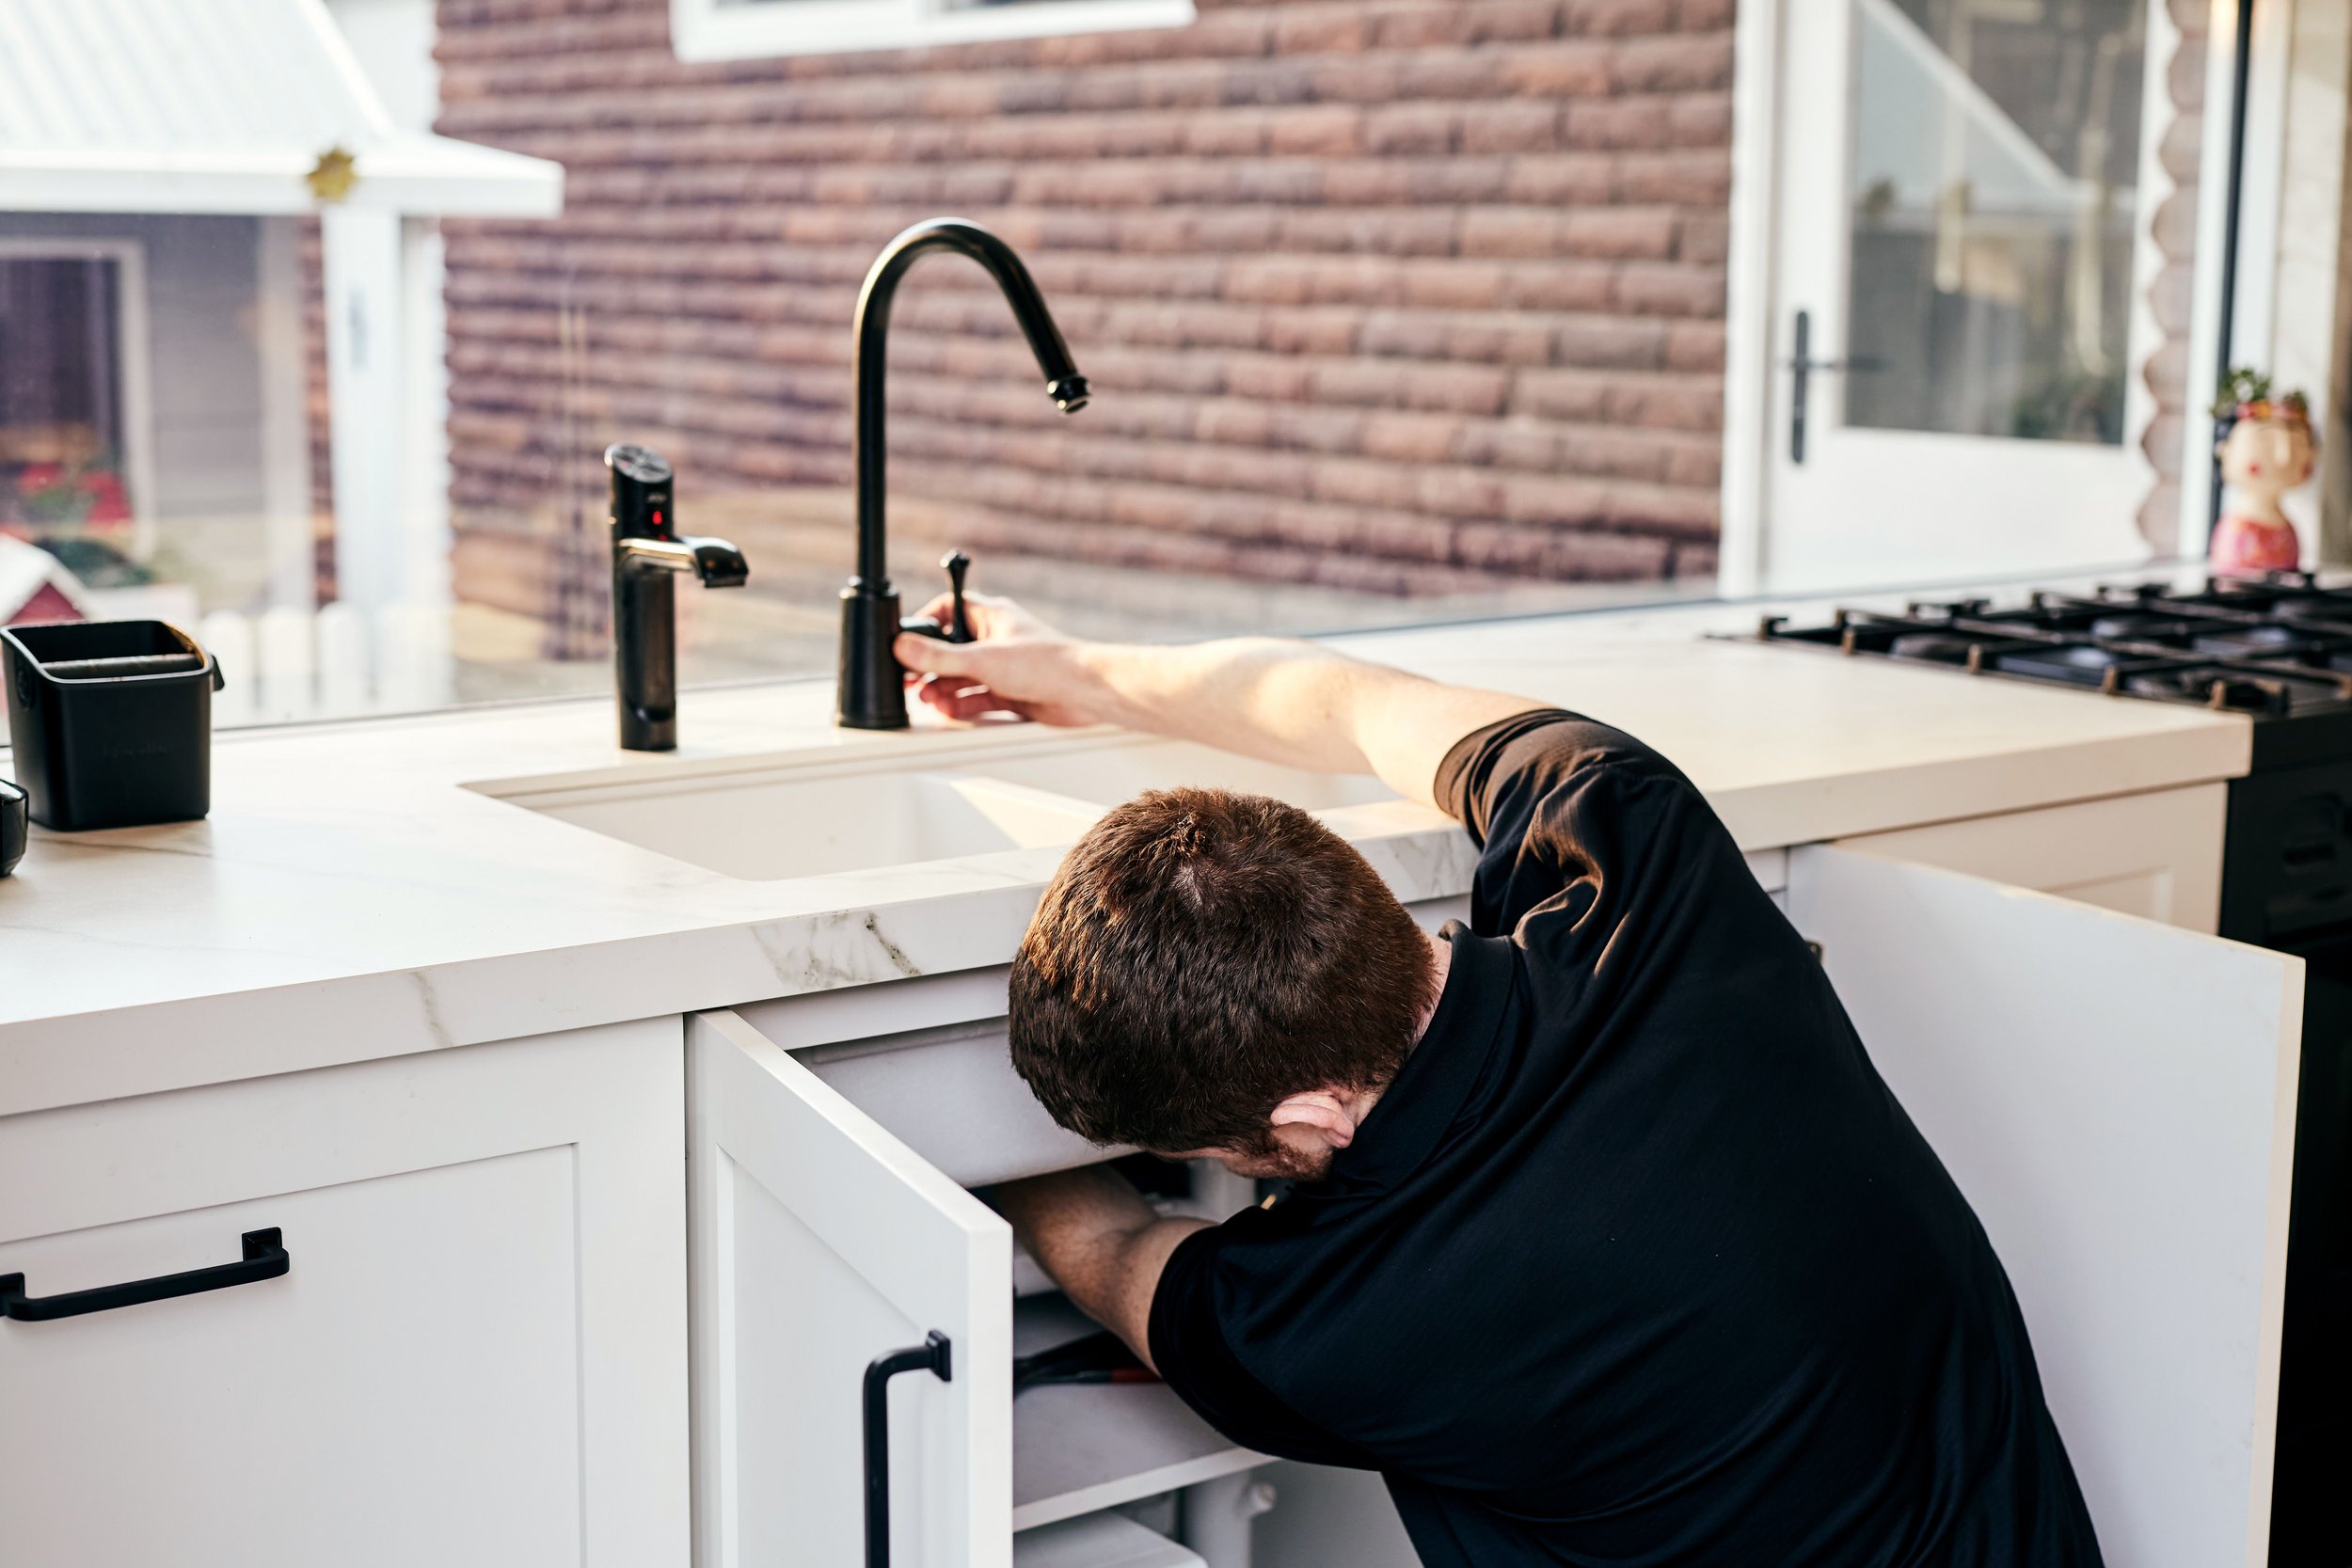
First things first, gather your tools. You’ll need a spanner, screwdriver, replacement washers or O-rings, and some plumber's tape. These can all be easily found at your local hardware store. Ready? Let’s get started!
Step 1: Turn Off the Water Supply
Before you do anything, ensure the water supply to the tap is turned off. This can usually be done by shutting off the valve under the sink. If there isn't a valve there, you'll need to turn off the main water supply.
Step 2: Remove the Tap Cover and Handle
Using a screwdriver or spanner, carefully remove the cover and handle of the tap. Keep all removed parts in a safe place so you won't lose them.
Step 3: Extract the Tap Cartridge
Once you have the handle off, you should see the tap cartridge. Use your spanner to loosen and remove this cartridge. This is often where the leaking problem originates.
Step 4: Check and Replace Washers or O-Rings
Inspect the washers or O-rings for any signs of damage or wear. These small rubber components can deteriorate over time, causing leaks. If they appear worn, replace them with new ones.
Step 5: Reassemble the Tap
After replacing the washers or O-rings, carefully reassemble the tap. Make sure all parts are securely tightened but don’t over-torque them, as this can cause damage.
Step 6: Turn On the Water Supply
Now that your tap is back together, turn the water supply back on. Test the tap to ensure the leak has been fixed. If there’s still a drip, recheck your work to make sure everything is properly seated and secure.
And there you have it! Fixing a leaking tap is quicker and cheaper than you might think, and it’s a valuable skill that can come in handy around the house.
Why is my tap still dripping after replacing the washer?

If your tap is still dripping after replacing the washer, it might be time to investigate further. The issue could stem from several other components within the tap assembly. One of the common culprits is the O-ring, a small rubber ring that can wear out or degrade over time.
The O-ring is usually located around the spout's base and helps create a watertight seal. When it deteriorates, it can lead to persistent drips. Carefully inspect the O-ring for any signs of wear and tear, such as cracks or a loose fit. Replacing a faulty O-ring often resolves the issue and stops the leakage.
Another potential cause could be the condition of the seating inside the tap. Over time, the seat can corrode or accumulate mineral deposits, preventing a proper seal even with a new washer. In such cases, you might need to use a seating tool to grind the seat flat again or, in more severe situations, replace the entire tap.
Additionally, if your tap features additional components such as ceramic discs or cartridges instead of traditional washers, there might be a problem with these parts. Inspect them for any damage and consider replacing them if necessary.
Finally, ensure that you have tightened all parts correctly. Sometimes the smallest oversight, such as a loosely screwed tap assembly, can keep your tap dripping. Double-check that everything is securely in place before concluding your repairs.
Check the O-ring for wear and replace if necessary.
Inspect the seating for corrosion or mineral buildup.
Examine ceramic discs or cartridges, if applicable.
Ensure all parts of the tap are securely tightened.
By methodically ruling out these potential issues, you can usually pinpoint the exact cause of the persistent drip and address it effectively.
What are common mistakes to avoid when fixing a leaking tap?

It's easy to make mistakes when tackling a leaking tap, especially if you're new to DIY plumbing. Let's explore some pitfalls and how to dodge them:
1. Not Turning Off the Water Supply: This is a critical first step. Forgetting to shut off the water can lead to a more significant mess and potential damage. Always locate the valve below the sink or the main water supply and turn it off before you begin.
2. Using the Wrong Tools: Every job has a tool tailored for it. Using a wrench that's too large might damage the tap's fittings or the tap itself. Equip yourself with the right tools like a basin wrench, adjustable spanner, and plumber’s tape for a successful repair.
3. Over-Tightening Fixtures: Tight is good, but tight can also be too much. Over-tightening can strip threads, cause fittings to crack, or even damage the whole tap. Aim for snug, not immovable.
4. Ignoring the O-Ring: Washers aren’t the only components that wear out. The O-ring, which forms part of the tap handle, can cause leaks if it’s degraded or damaged. Ensure you check and replace the O-ring if necessary.
5. Failing to Clean Parts: Old grime and mineral deposits can hinder repairs. Thoroughly clean the tap and its components during disassembly to ensure a proper seal and smooth operation once reassembled.
Avoiding these common mistakes can make your DIY repair both efficient and effective. And remember, practice makes perfect! If in doubt, there's no harm in seeking professional advice or assistance.
How do I know if I need to replace the entire tap?
When dealing with a pesky dripping tap, you may wonder if a simple fix is enough or if it's time to bring in a new tap. Here are a few indicators that replacement might be the smarter move:
Persistent Leakage: If you've already replaced the washer or other components and the tap still leaks, it might be indicative of deeper issues that simple repairs can't resolve.
Corrosion: Notice significant rust or mineral buildup? Corrosion can compromise the function and safety of your tap, making replacement necessary.
Physical Damage: Cracks, dents, or other visible damage are clear signs that replacement is due. Such damage often leads to more significant problems if left unaddressed.
Poor Water Flow or Pressure: Experiencing weak or inconsistent water flow might indicate internal blockages or wear. If cleaning out the aerator doesn't help, a new tap could be in order.
Outdated Appearance: While not a functional issue, an old-fashioned tap can date your kitchen or bathroom's look. Upgrading can enhance both aesthetics and functionality.
Ultimately, if multiple minor issues persist despite attempts to fix them, or if your tap is verging on ancient, replacing it could save you time and stress in the long run. If ever in doubt, a professional plumber can provide a thorough assessment and recommend the best course of action.
Need assistance with fixing a leaking tap? Contact our friendly team 03 9501 3777 today. Our team is dedicated to repair leaking taps, stop ignoring your dripping taps.
Need to talk to an expert?
Our Bayside team of qualified, expert plumbers are here to help.
Call us on 03 9501 3777 or request a call back here.


